The main ingredients:
The proper printer and the proper decals.
I use an HP LaserJetP1102w. The toner cartridge is 85A. Pretty much any printer that uses an 85A cartridge should work for the decals. If you look at the MSDS sheet of a particular type of toner you can find out the percentage of iron ferrite in it. Below is what you are looking for. Ferrite is an ingredient of toner, powdered iron, at high temperatures in the presence of air, it will become iron oxide. For example, the Lexmark 260 MSDS listed the percentage of ferrite in the toner as 7-13%, where the HP is 45%, giving it more durability. I have only used the 45% one. (Thanks to Ed Lay for that info!)
I get my decals from DecalPaper.com. Below is the code and description of what I get. I prefer the clear decal paper over the white. They seem to come out clearer.
http://www.decalpaper.com/
http://www.decalpaper.com/

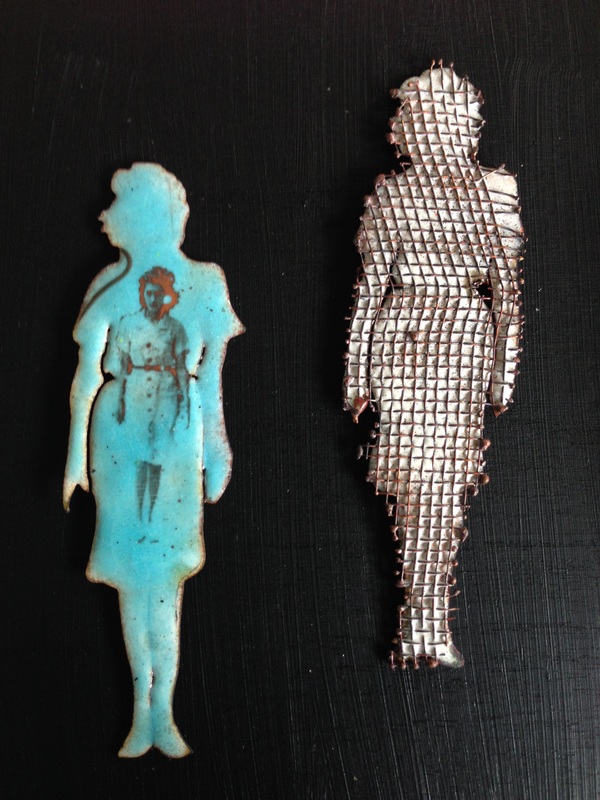
For this sample I used Thompson's 1020 unleaded titanium white. (Counter enamel just like you would do for anything else you enamel. I don't always counter enamel) The decals show up better on a lighter enamel, but of course it depends on what you want and I always feel it's a good thing to experiment. Opaques and transparents will both work, it will just be a different look. You can also enamel on top of the decal, but too many firings will eventually burn out the decal, at least it will with the torch, not sure about kiln-firing.
 | 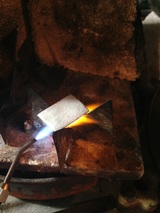 |
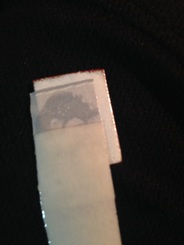
After printing your sheet of decals, cut out the one that will fit on your metal, and drop it into some water. I did use a decal with white backing instead of clear, only because I just wanted to get something quick so I could take some pictures... after all it is Friday night and I said I would do this at the end of the week... some people consider Sunday the end of the week... It doesn't really matter how long you leave it in the water, but you want it in there long enough to get the decal to slide off of the backing paper, maybe a minute. It won't hurt it to be in there longer. Put the decal ink-side down on the metal (the backing paper will be on top) and slide the backing off of the decal. If you ever made models as a kid or with your kids and put the decals on the models, it's the same process. The decal can still be moved around on top of the enamel so you can place it where you want. Some people suggest letting it dry over night, or for a couple of hours on top of a kiln, but I don't have the patience for that... I'll dry it a bit with a heat gun, (be careful not to get it too hot, you just want to evaporate the water) then push out any air bubbles with a piece of cardboard or a paper towel. Air bubbles will cause pinholes in the decal, which can be cool, or not. I used to obsess about popping all the bubbles with a needle, but it never really seemed to work... I find that heating it slowly with the torch, even if it bubbles up gives me pretty good results. It takes a lot of practice.
 |  | 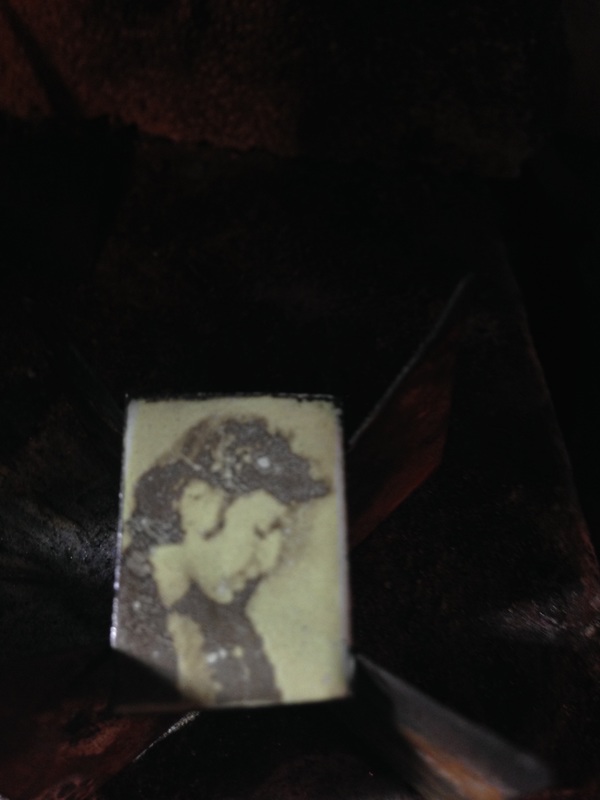 |
On the decal below, you can see parts of the image are light brown. That part wasn't fired into the enamel long enough. However, I like the way it looks, so I left it. And that's pretty much how you do it.
 RSS Feed
